Getting Started
In this part, we introduce steps & standard code snippets to create a simple react flow app that has following features:
- Can render nodes & edges
- Have interactivity that:
- handle change events (i.e. drag or select a node)
- handle connection (i.e. create edge between one node to another)
Installation
After create the react app (using vite or create-react-app, etc). following React Flow doc
- Install reactflow:
npm install reactflow - Import React Flow component and standard styles as shown below
import ReactFlow from 'reactflow';
import 'reactflow/dist/style.css';
- Where
style.cssis very important for having the standard reactflow style
Building a Flow
In this section, we introduce how to create a controlled flow component
Getting Started
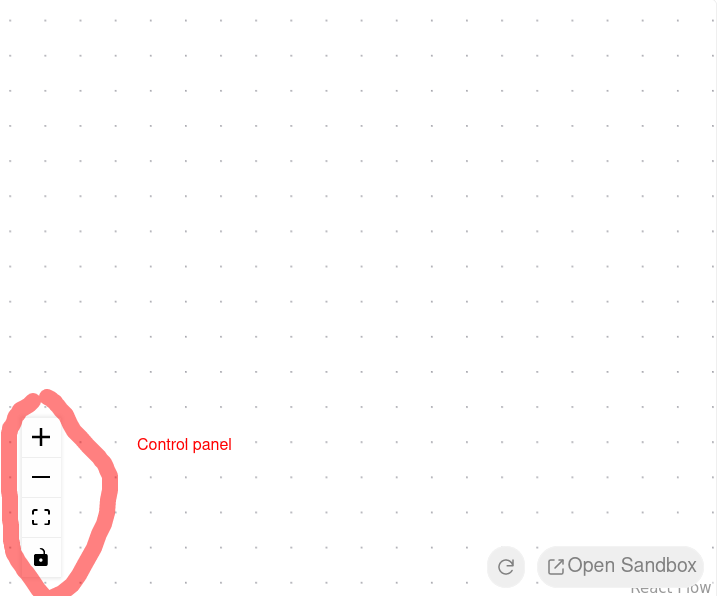
Objective: create an empty flow with a controls panel and a background.
Steps:
- import components from
reactflowpackage. - Render an empty flow using components:
<ReactFlow />,<Background>, andControls
import ReactFlow, { Background, Controls } from 'reactflow';

// we have to import the React Flow styles for it to work
import 'reactflow/dist/style.css';

const Flow = () => {
  return (
    <div style={{ height: '100vh' }}> // note we have to use 100vh here, otherwise it only render a narrow strip
      <ReactFlow>
        <Background />
        <Controls />
      </ReactFlow>
    </div>
  );
};

export default Flow;
Effect is shown below
3 important things:
- Need import the styles. Otherwise, ReactFlow won't work
- Parent container needs a width and a height (here we only has height), as React Flow need to use parent dimension
- If there are multiple
<ReactFlow />on single page, we need pass a uniqueidprop to each<ReactFlow />component
Adding Nodes
Objective: add nodes into the empty flow
Steps:
- Create an array of node objects
- Add nodes into
<ReactFlow />component
const nodes: Node[] = [
  {
    id: '1',
    position: { x: 0, y: 0 },
    data: { label: 'Hello' },
    type: 'input',
  },
  {
    id: '2',
    position: { x: 100, y: 100 },
    data: { label: 'World' },
  },
];
Where
- Details of consumable Nodes are available in Node Options
- In the doc, we can see that
id,position, anddataare essential. Others are optional
- In the doc, we can see that
function Flow() {
  return (
    <div style={{ height: '100vh' }}>
      <ReactFlow nodes={nodes}>
        <Background />
        <Controls />
      </ReactFlow>
    </div>
  );
}
Adding an Edge
Objective: create an edge to connect 2 nodes
Edge type in ReactFlow has 2 must need attributes:
- source node
- target node
const edges: Edge[] = [{ id: '1-2', source: '1', target: '2' }];
Where:
sourceis specified with id of source nodetargetis specified with id of target nodeidof edge can be any id name, it can also be GUID if you want
Adding Interactivity
Objective: add interactivity to the ReactFlow, so we can select, drag, connect and remove nodes/edges
Handle Change Events
Objective: select, drag, and remove nodes/edges
Steps:
- Import required
applyEdgeChangesandapplyNodeChangeshelper functions - connect state in the component, so helper functions will take effects
import { useState, useCallback } from 'react';
import ReactFlow, { applyEdgeChanges, applyNodeChanges } from 'reactflow';

import 'reactflow/dist/style.css';

const initialNodes: Node[] = [ // Create initial nodes object
  {
    id: '1',
    data: { label: 'Hello' },
    position: { x: 0, y: 0 },
    type: 'input',
  },
  {
    id: '2',
    data: { label: 'World' },
    position: { x: 100, y: 100 },
  },
];

const initialEdges: Edge[] = [{ id: '1-2', source: '1', target: '2', label: 'to the', type: 'step' }];

function Flow() {
  // setup state for nodes & edges
  const [nodes, setNodes] = useState(initialNodes);   const [edges, setEdges] = useState(initialEdges);

  const onNodesChange = useCallback(
    (changes: NodeChange[]) => setNodes((nds: Node[]) => applyNodeChanges(changes, nds)),
    []
  ); // When node change happen, this callback will be called to set new nodes array
  const onEdgesChange = useCallback(
    (changes: EdgeChange[]) => setEdges((eds: Edge[]) => applyEdgeChanges(changes, eds)),
    []
  );

  return (
    <div style={{ height: '100%' }}>
      <ReactFlow
        nodes={nodes}
        onNodesChange={onNodesChange}
        edges={edges}
        onEdgesChange={onEdgesChange}
      >
        <Background />
        <Controls />
      </ReactFlow>
    </div>
  );
}

export default Flow;
Handle Connections
Using similar method, we can implement onConnect handler of <ReactFlow /> component, so we can connect nodes manually via mouse
